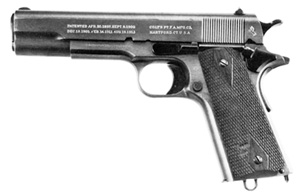
Since most of the M1911 and M1911A1 pistols you will encounter are getting quite elderly, it is important to know how to do basic safety testing on the 1911 pistol. Even on a newer production 1911-pattern guns, if you are acquiring the gun second hand, it is a good idea to perform these safety tests to insure that a tinkerer hasn’t messed up the innards of the gun.
Perform the following safety tests as indicated in (1) through (4) below.
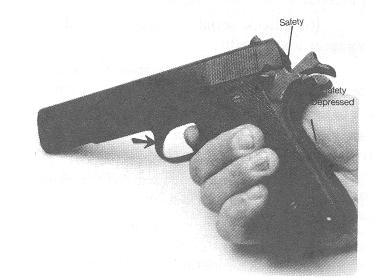
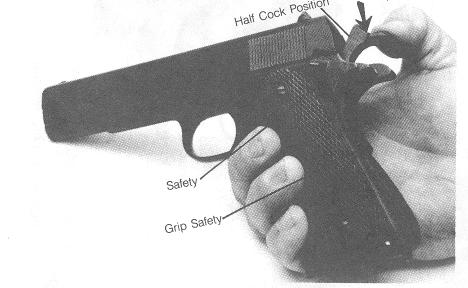
(1) Safety test (fig. 1). With the pistol unloaded, cock the hammer and press the safety upward into the safe (locked) position. Grasp the grip so the grip safety is depressed and squeeze the trigger tightly three or four times. If the hammer falls, the safety must be replaced.
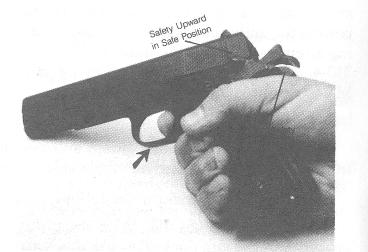
(2) Grip safety test (fig. 2). With the pistol unloaded, cock the hammer and without depressing the grip safety point the pistol downward and squeeze the trigger three or four times. If the hammer falls because the grip safety is depressed by its own weight, the grip safety may be corrected by replacing sear spring.
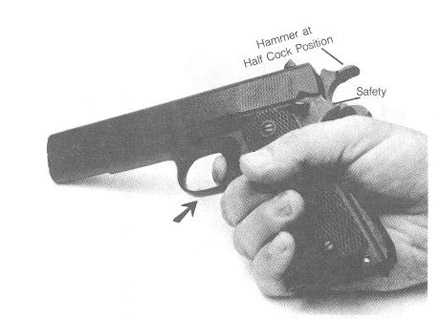
(3) Half-cock position test (fig. 3 and 4). With the pistol unloaded, draw back the hammer until the sear engages the half-cock position notch. Then squeeze the trigger. If the hammer falls, the hammer or sear must be replaced or repaired. Draw the hammer back nearly to full cock position, do not squeeze the trigger, and then let thumb slip off hammer. The hammer should fall only to the half-cock notch. Replace hammer when it falls past the half-cock position. Note: If you perform this test on a true GI M1911/M1911A1, it will behave in this way. Kimbers will also. Colts (Series 80) and Springfields will allow the hammer to fall from the half-cock because the Series 80 hammer has a shelf rather than a real hook at the half-cock.
(4) Disconnector test.
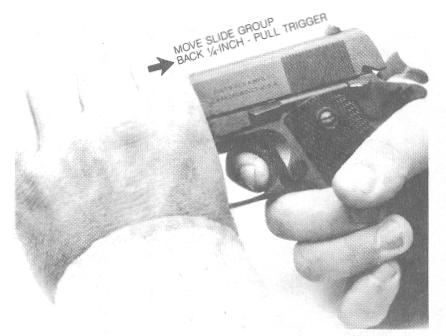
(a) With the pistol unloaded, cock the hammer. Push the slide group 1/4 inch to the rear (fig. 23) and hold in that position while squeezing trigger. Let slide group go forward, maintaining pressure on trigger. If the hammer falls, the disconnector is worn and must be replaced.
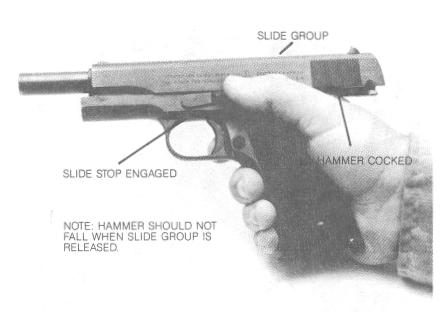
(b) Pull the slide group rearward until the slide stop is engaged (fig. 23). Squeeze the trigger and release slide group simultaneously. The hammer should not fall. If it does, replace the disconnector.
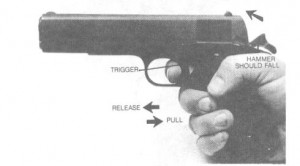
(c) Release the pressure on the trigger and then squeeze it. The hammer should then fall (fig. 23). If it does not fall, check the sear spring for weakness. Also check for a faulty disconnector which would prevent hammer from falling. The disconnector should prevent the release of the hammer unless the slide group is in forward position, safely interlocked. This also prevents the firing of more than one shot at each squeeze of trigger.
See Also:
Is “Cocked and Locked” Dangerous?
.

Comments, suggestions, contributions? Let me know